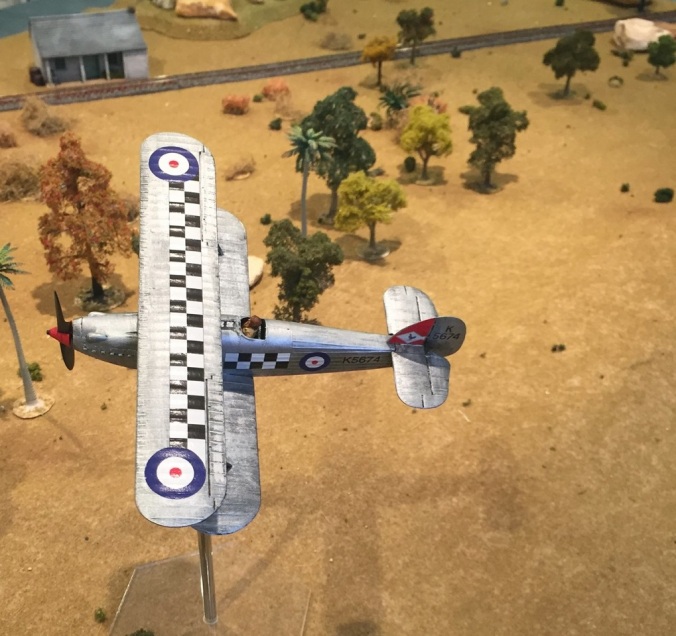
The Hawker Fury epitomises the interwar era of aircraft design. Sleek, silver with a couple of .303 machine guns to get the job done, it has been aptly named an aeroplane ‘to pretty to fight’. For my interwar project I had to have one of these. No ugly camouflage schemes for me, my British air support was going to be art deco silver…something Kenneth Moore would fly!
One problem with 28mm models is ‘equipment’ is often very large when models are “in scale”. It can start to look a bit ‘GW Space Marines’ with big hulking vehicles or flying machines dominating the table space. Even in WW2 aircraft grow considerably in size and 1/48 as a scale becomes a little less usable. However interwar era aircraft were still relatively small in overall size and so the nicer model in 1/48 is usable on table and doesn’t look over sized or out of place. Another thing is that most undercarriages were fixed (i.e. not retractable) so the model looks authentic when aloft and conveniently can be placed on the ground.
What this means is that in some scenarios the aircraft can be used as a terrain piece, table dressing or even the objective of the scenario itself. So you’ll get a little more out of your model building time as the plane can be used in a number of ways when gaming.
To that end I needed to track down a nice 1/48 scale kit. It should have just the right amount of detail on it and be easy enough to put together such that it makes for an excellent game model without going the ‘full aircraft modeller’ route.
The Kit
Airfix is the kit of choice for me though a few other options exist. They have a nice spiel on the type on their website.
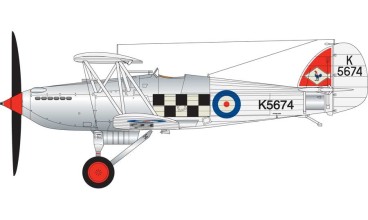
You get a couple of choices how to paint the model, one in silver and one in camouflage. Mine was going to be painted in a rather generic silver scheme as described in the Airfix kit. I wasn’t going to get hung up on what aircraft, in what squadron were where and in what livery, etc in our 1936 setting. Suffice to say that the silver scheme Hawker Fury’s were historically based in Egypt and would’ve been expected to participate in air to ground operations during any Abyssinian Crisis.
For more livery schemes Wings Palette has a number of options should you wish to get more specific.
If building a plane is beyond your skill or patience level then you can get a metal one, though this will require a fairly solid stand to mount it in ‘airborne mode’. If you also like the ‘off-scale’ look of a 1/72 scale plane then there are a number of options in both plastic and metal, and Corgi conveniently makes one ready to go….and a very nice background on the Fury as well on their website.
I found a a review by Geoff Coughlin’s which is excellent and I’ve reproduced it here for convenience ..there really isn’t much to say beyond what he said on his blog so all credit to him.
Geoff’s Review
Geoff Coughlin’s review is excellent and I’ve reproduced it here for completeness…there really isn’t much to say beyond what he said on his blog and all credit to him.
A bit about the Hawker Fury
The Hawker Fury was a British biplane fighter aircraft used by the Royal Air Force in the 1930s. It was originally named the Hornet and was the counterpart to the Hawker Hart light bomber.
The Fury I entered squadron service with the RAF in May 1931, re-equipping No. 43 Squadron (and the subject of one of the decal options in the kit – a simply stunning scheme!). Owing to financial limitations owing to the Great Depression, only relatively small numbers of Fury Is were ordered, the type equipping only two more squadrons, 1 and 25 Squadrons. At the same time, the slower Bristol Bulldog equipped ten fighter squadrons. The Fury II entered service in 1936-1937, increasing total number of squadrons to six. Furies remained with the RAF Fighter Command until January 1939, replaced primarily with Gloster Gladiators and other types, such as Hawker Hurricane. After their front line service ended, they continued to be used for training purposes.
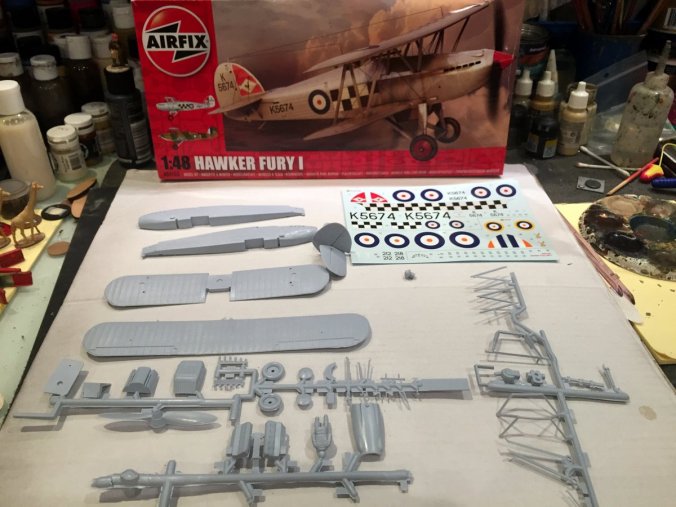
The Airfix kit
This is a basic kit that has a decent outline shape and will be ideal for new and junior modellers; take a look at the images and see for yourself. This is a very old kit and so if you are expecting something new like the recent releases from this manufacturer, revise those expectations.
Assembly and breakdown of parts if simple and uncomplicated but you’ll have to add any refinements yourself as what is included is very limited – again, take a look at the photo gallery here to see exactly what I mean.
In addition, there is plenty of excess flash to remove from the parts and some ejection pin marks will need to be filled and sanded to restore a blemish-free surface. The prop shape isn’t too bad at all and after cleaning up and painting it should look the part. This is more than can be said of the simplistic engine that I wouldn’t bother too much with – the good news is the cowl will hide the engine.
Finally a ‘classic’ Airfix pilot in seated posture is included.
Instructions and decals
Instructions are very straightforward in simple stages in the instruction booklet with colour markings options printed with colour all aspect diagrams. The schemes on offer are a great black and white checkerboard aircraft from No. 43 Squadron RAF and a camouflaged South African Air Force Fury that will make a great change if you want something a little different.

The decals look to be to current standard and good quality featuring good stencil data and instrument panel decals that are fine in this scale.
Summary
A fair addition to what’s already available and I guess a way for Airfix to extract the maximum from an old tool in the case of the Hawker Fury. If you want to build a quarter scale Hawker Fury you don’t have a lot of choice and if you have some experience behind you and enjoy the build process this could make for a challenging and rewarding project.
Geoff C.
…thanks Geoff.
Building
I’m not going to give a detailed description of how to put it together as it is fairly straight forward. However in summary you can expect to build it in about 2-3 hours in multiple stages as the plastic glue dries between each one. This generally applies to the big stages like glueing the fuselage together for example where I would hold the two halves together with masking tape to secure it in place so the join well and truly sets before moving onto the next stage. I used a bit of filler to smooth a join here and there, nothing major.
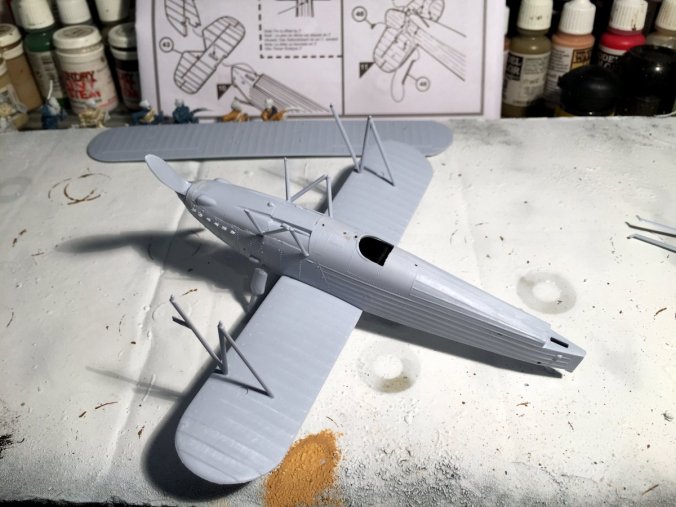
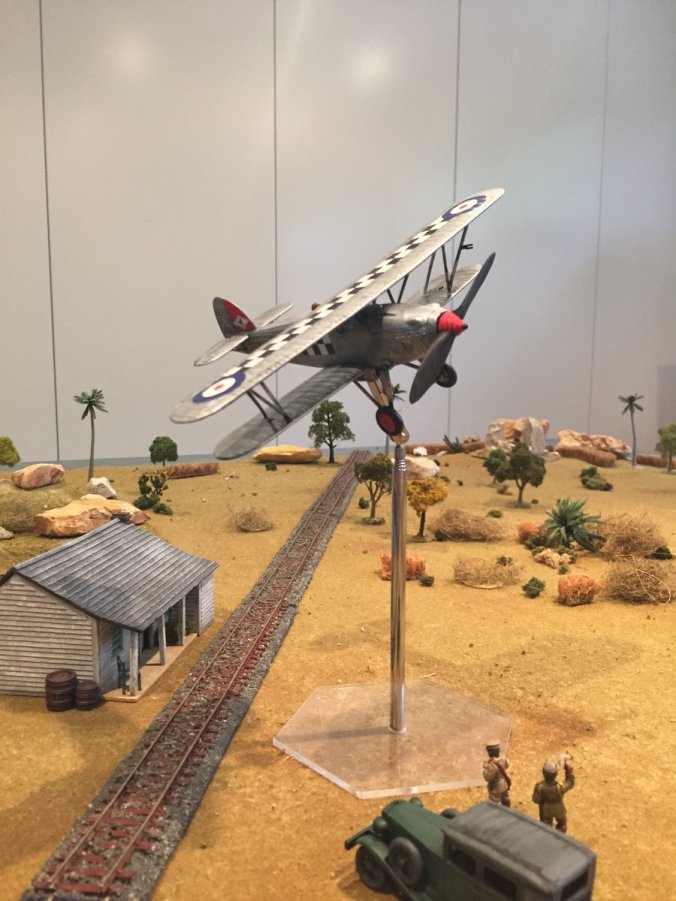
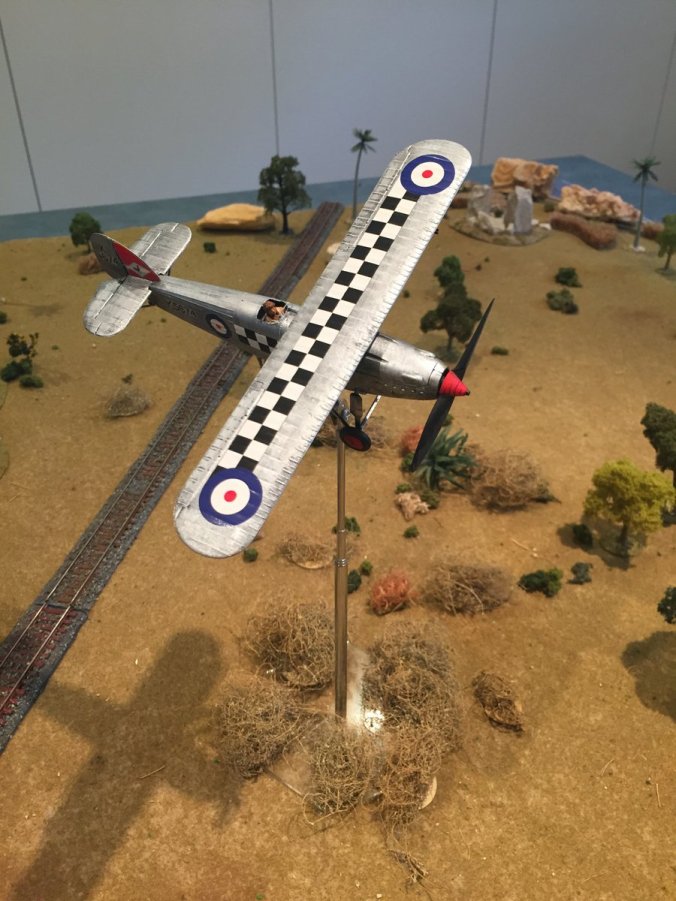
One other point to mention is the way you plan on using it (mounted) during play. I use the aircraft base you can see in the pics and what I did was get an earth magnet and glue it inside the underwing airscoop (using impact adhesive) before mounting it on the bottom of the plane during final assembly. It’s centrally placed and a perfect spot for the plane to balance on. This means the model base with magnet and the aircraft magnet get a solid magnet connection so the plane can be angled around a bit for in flight positioning. Always test the polarity of the magnets so they don’t oppose each other! Also, don’t get to wild with the aircraft angles or it’ll fall off or the base will tip over…be careful!
Lastly, leave off the top wing and glue the bottom struts on first. Undercoat the whole model with the top wing off as it’s much easier to paint when it’s still a monoplane. Once all the painting is done then glue on the top wing.
When the model is complete undercoat it entirely with a flat black spray paint, I then used an overall Vallejo Oily Steel base coat colour, then (dry brush) highlight with Foundry Spearpoint highlight colour…all applied with a brush….nice and easy! I didn’t want an overly ‘shiny-shiny’ look and tried to get some shading in the metal (if that makes sense) by using these two colours. You can sort of see what I mean here and some of the pics below. I think this makes for a more interesting model and possibly realistic look to the eye.
.
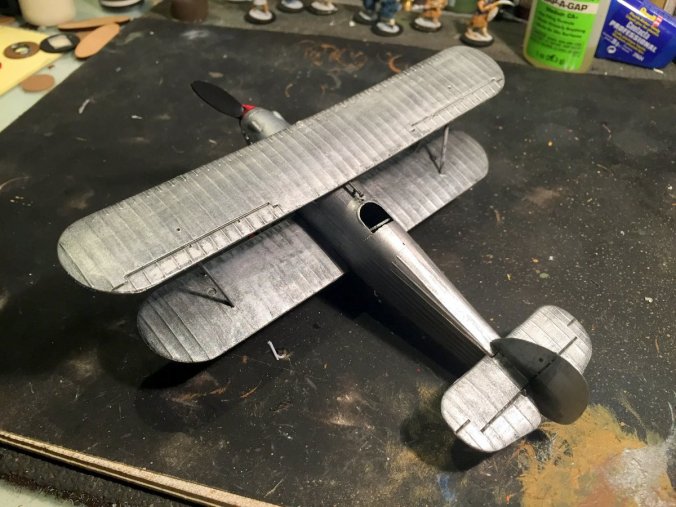
After this the decals go on and she’s done!
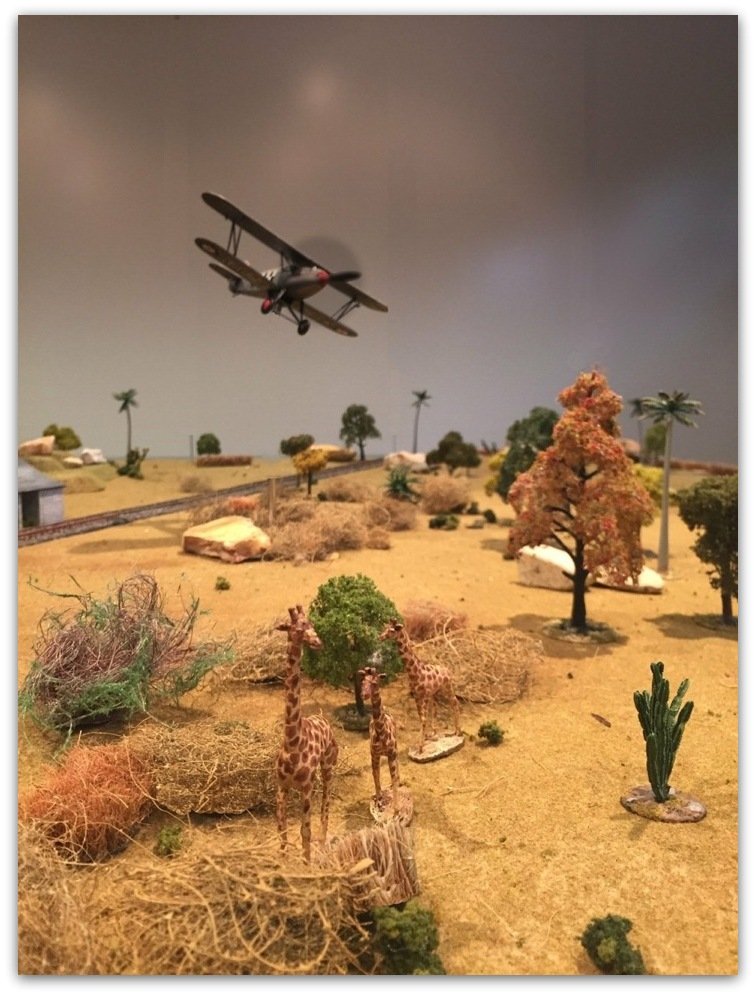
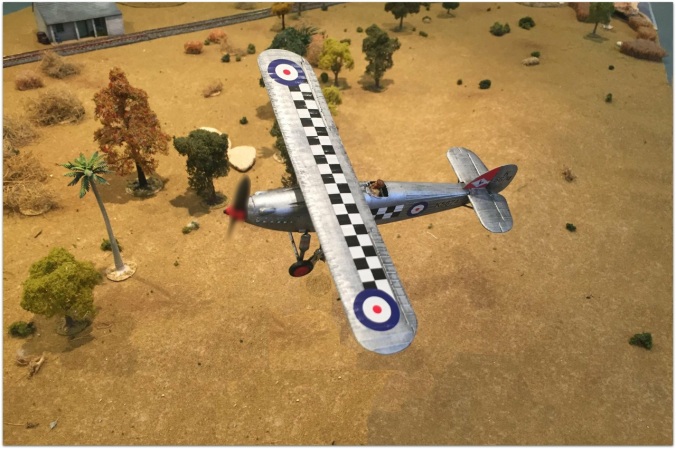
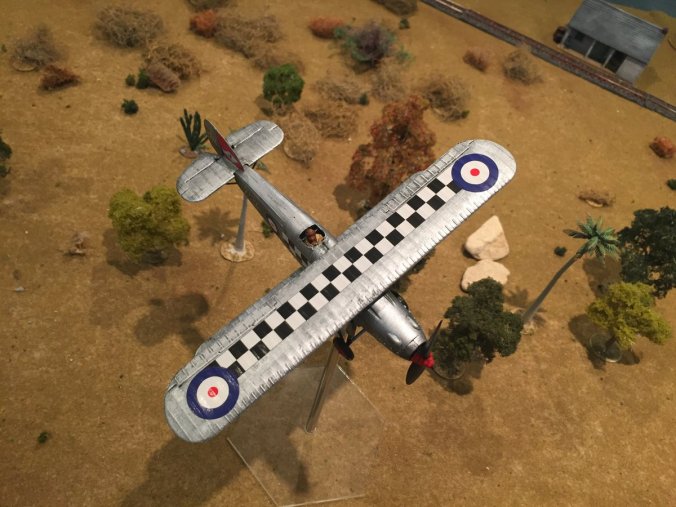
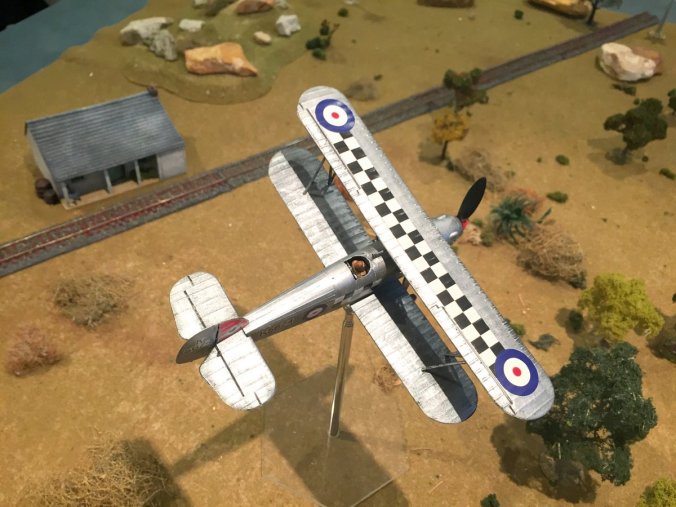
Fly by!
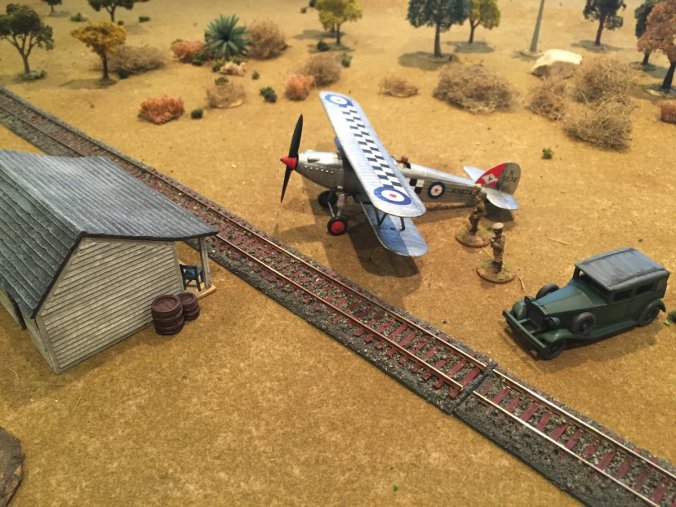
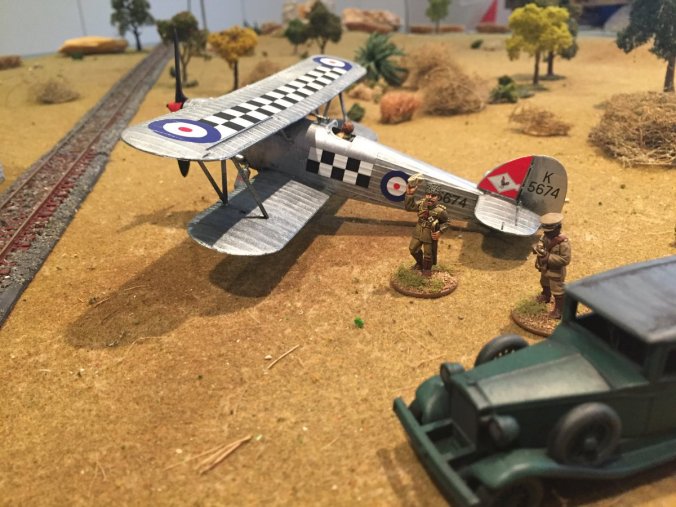
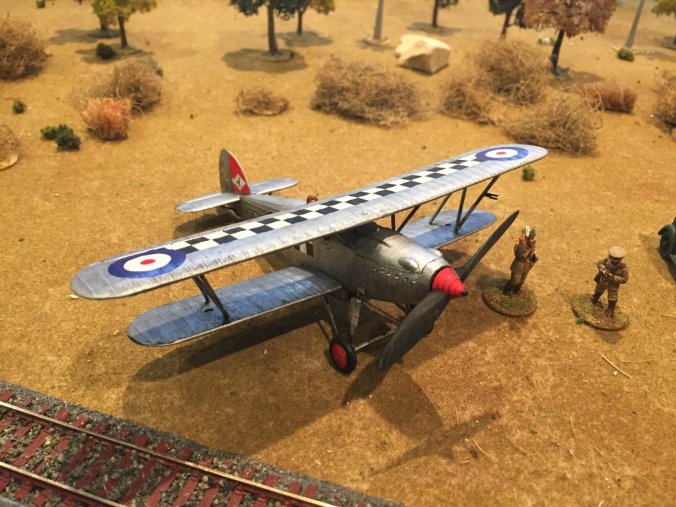
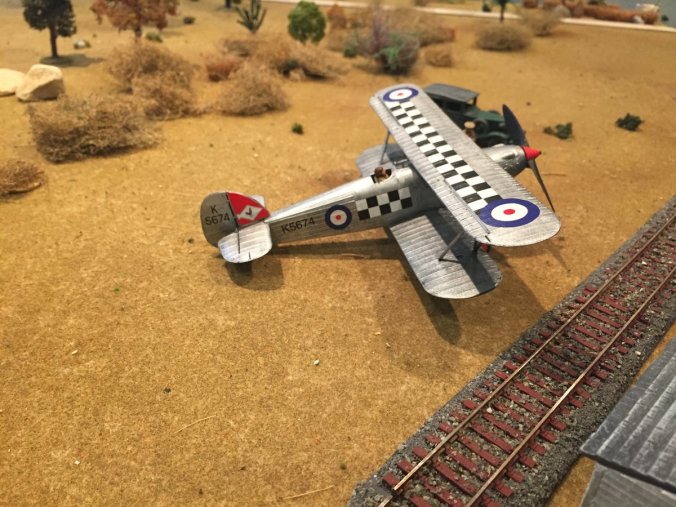
Here are some aerial and ground shots..hope you like her, I think she’s a beauty and really sets the interwar scene!
.
.
.
.
.
.
.
.
.
.
.
.
.
.
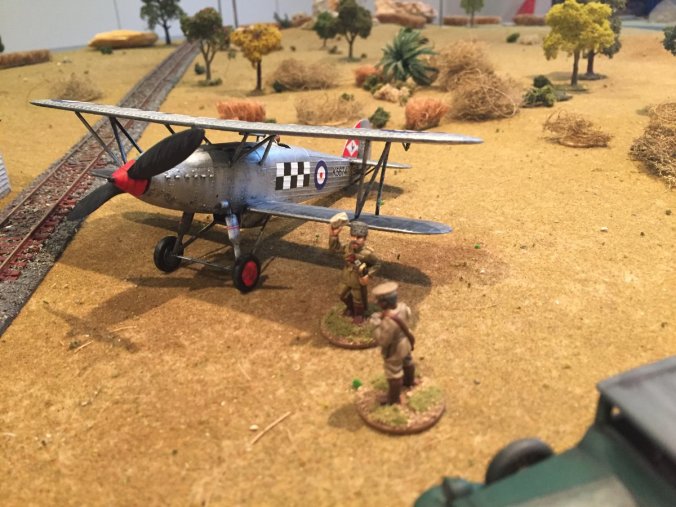
…that’s one fine looking snout!…not sure what the Turk is going on about though 🙂
.
.
.
.
.
.
.
.
.
.
.
.
Interesting side note
Click on this link and you can see just how many crashes there were of the Hawker Fury..a pretty high mortality rate and some interesting service history…chocks away!

Fury over Africa